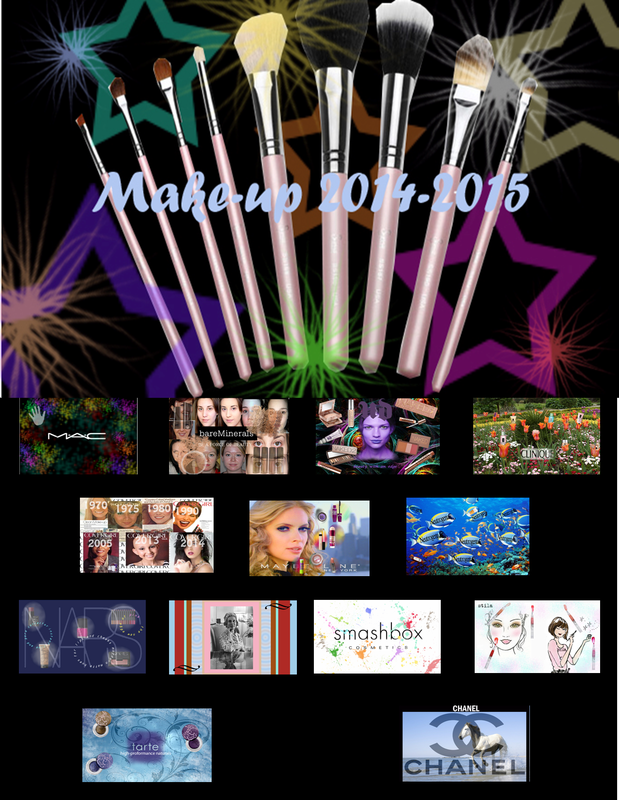
calander
explanations

|
|
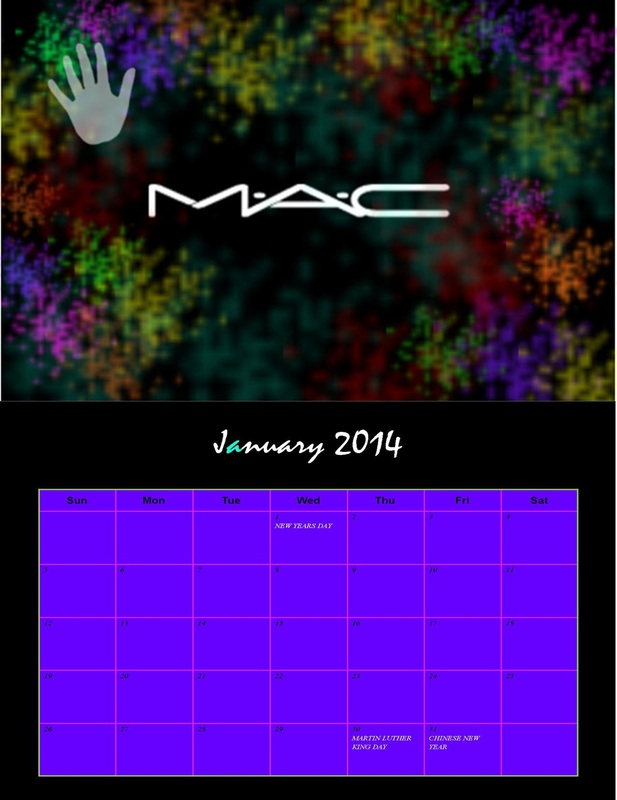
I used multiple brush tools in different colors and sizes and applied them to the image. I used the clone stamp tool to enhance some of the brush marks to make them blend better. Also i put a hand print image on the background in front of the stamp and adjusted the opacity.
|
|
|
|
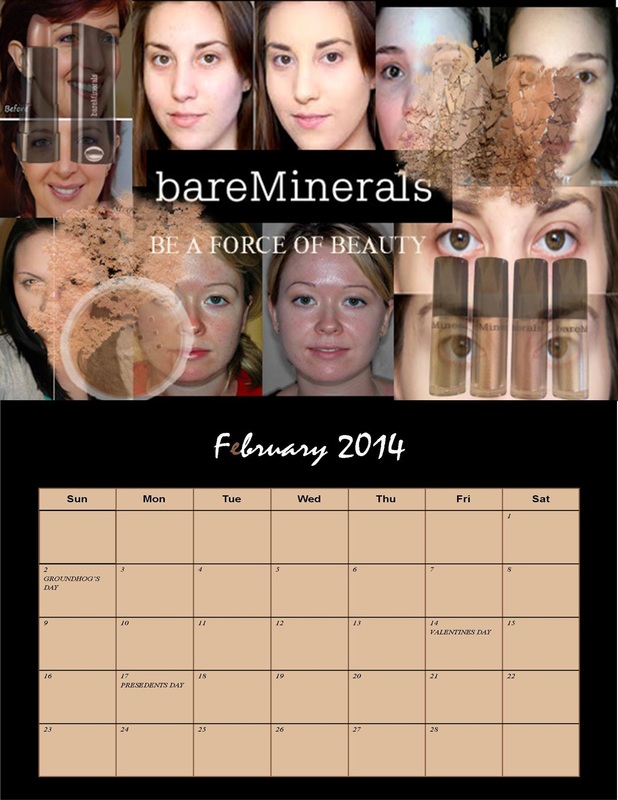
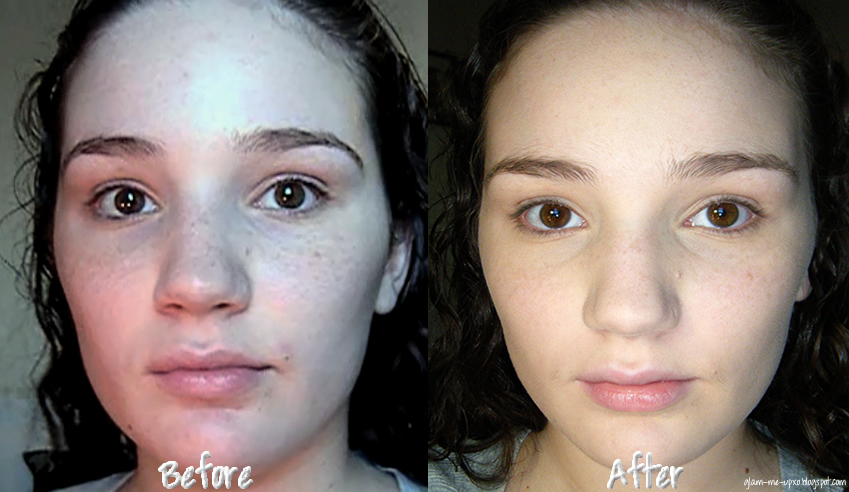
I selected out images from a bunch of different pictures and copied and pasted them onto a background. i took before and after pictures and pictures of products for my artwork.
|
|
|
|
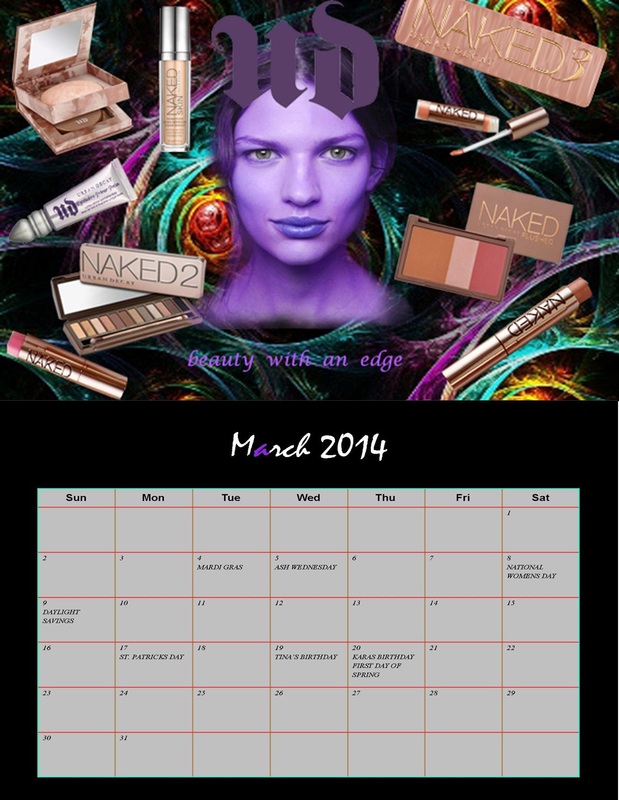
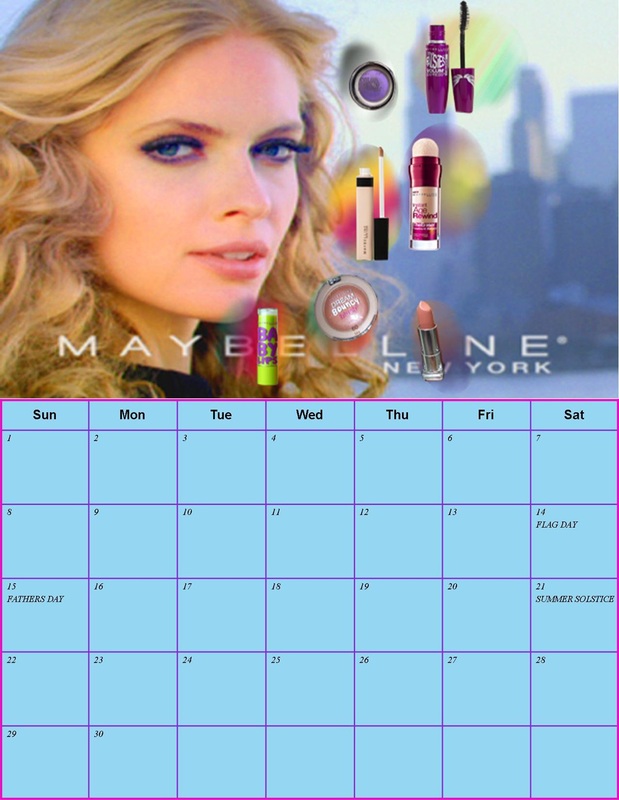
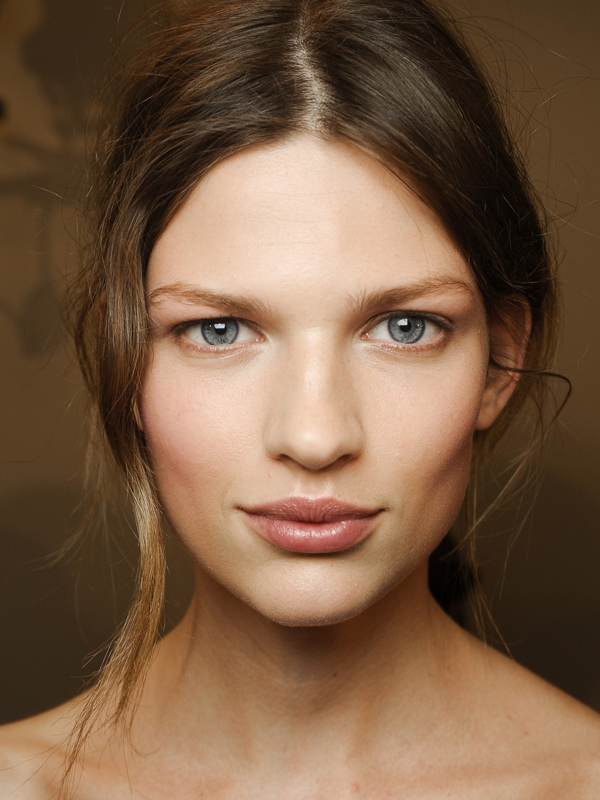
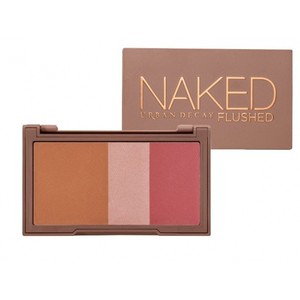
I selected, copied,and pasted images including a face and multiple urban decay products. I used blending options to blend the head with the background. The angle of the products was also adjusted.
|
|

|
|
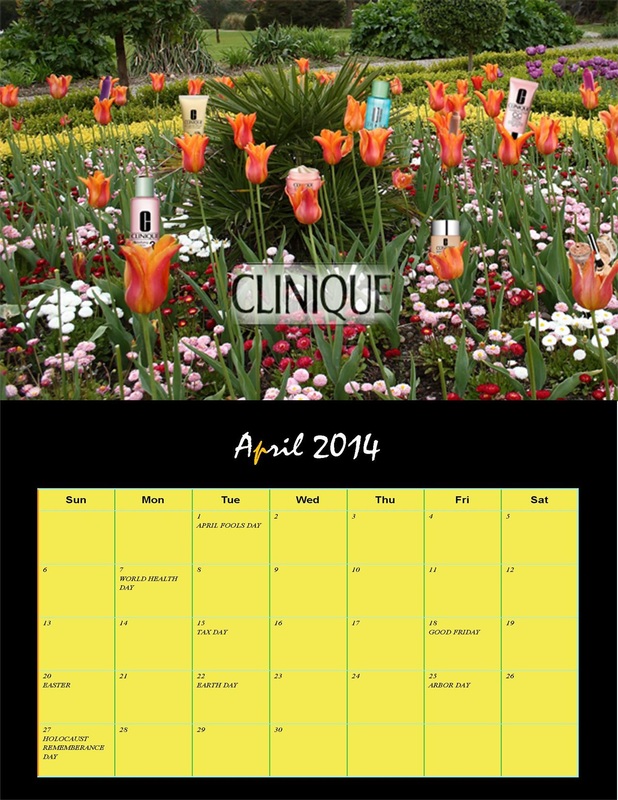
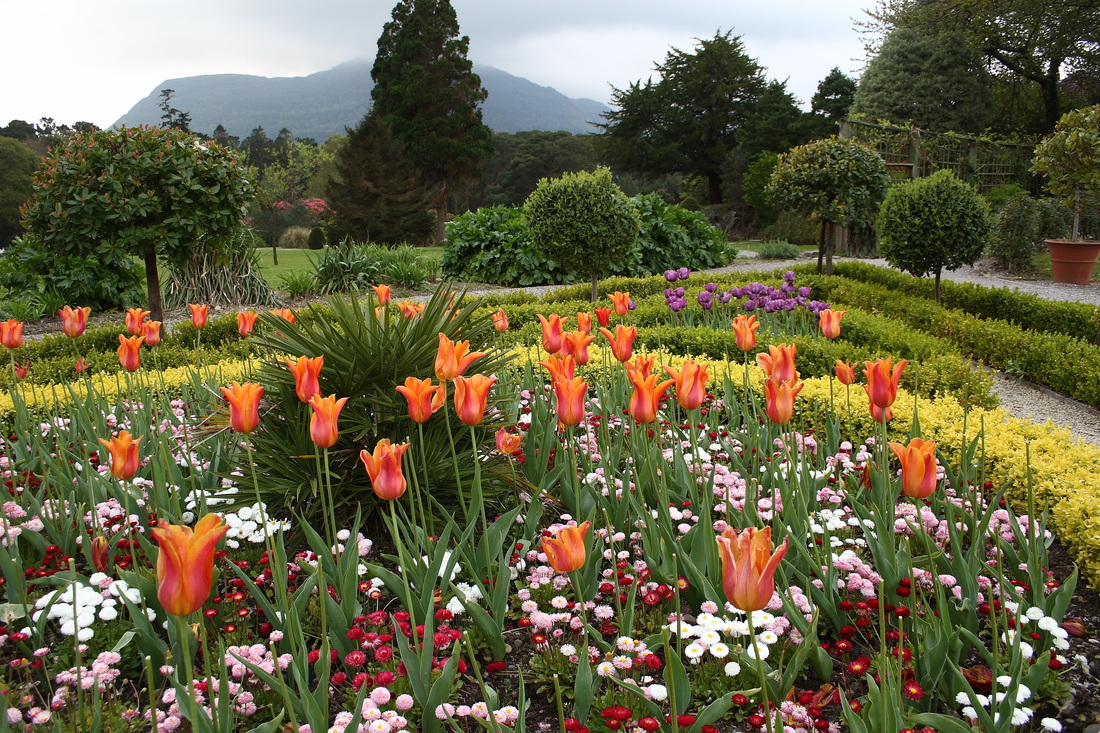
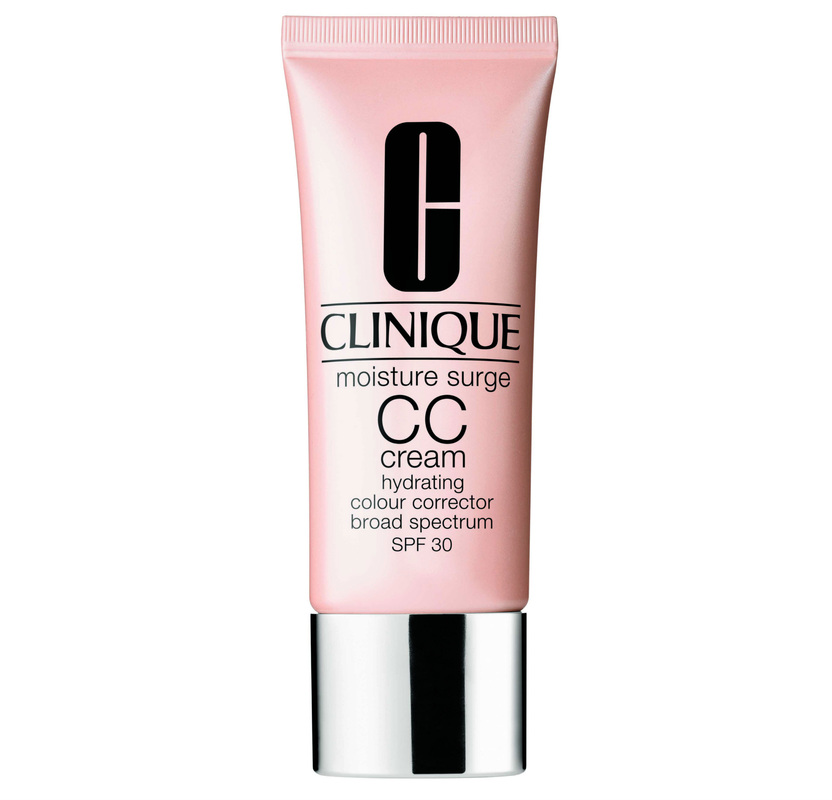
I put the Clinique label on a picture of a garden and adjusted the size and opacity of it. Then i copied and pasted multiple Clinique products and made them small enough to fit in the flower. I turned down the opacity of each of the objects so i could see through them, and erased part of them so it would look like they were coming out of the flower.
|

|
|
|
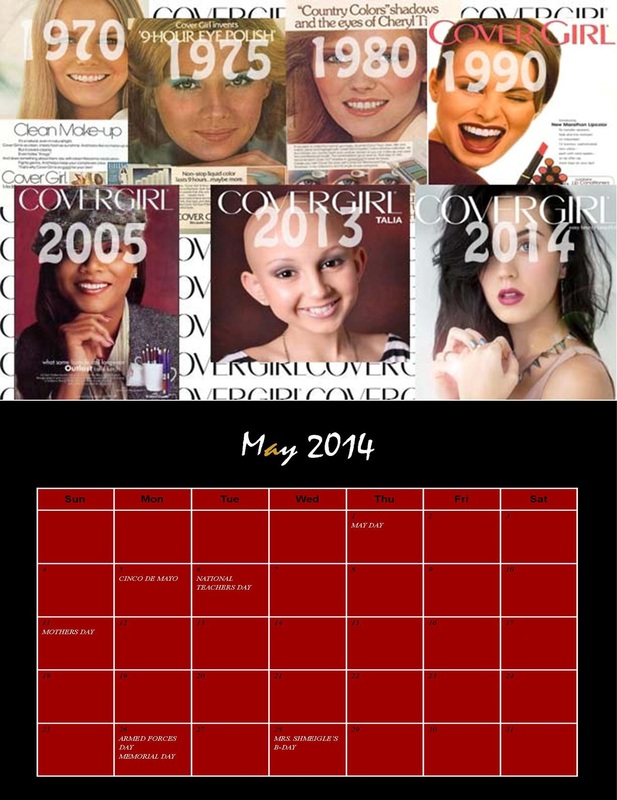
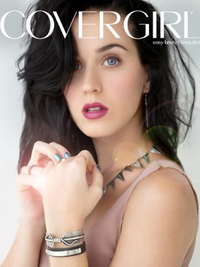
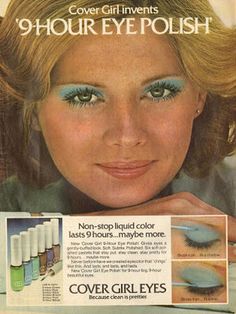
I took images of covergirls throughout the years starting from 1970 and up to 2014. Then put the logo on another layer the same size as the May one. I duplicated the layer a lot of times and paced them so that they filled up the whole page, than saved it as an image. Then I put it behind all the pictures of all the covergirls for a background.
|
|

|
|
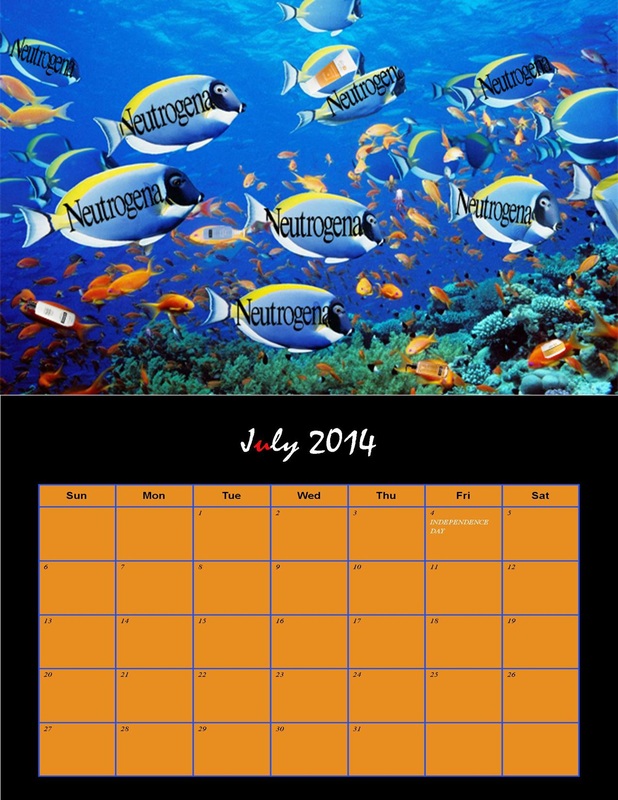
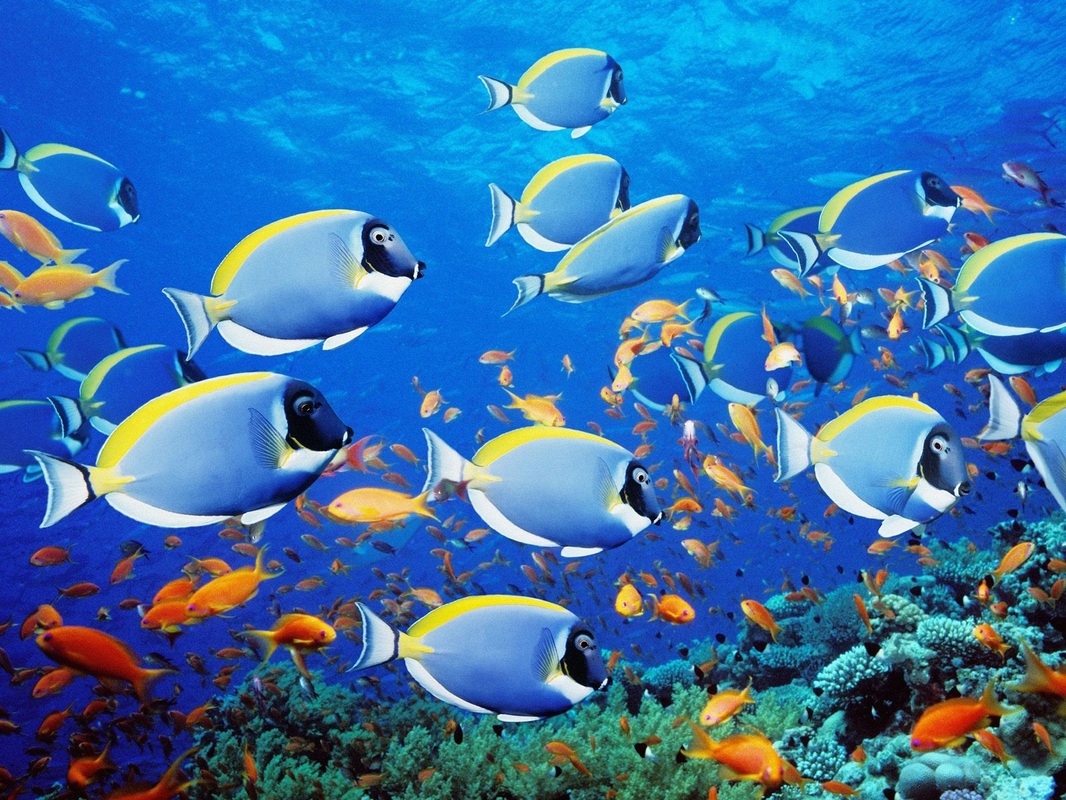
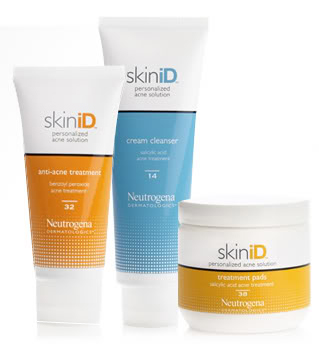
I copied and pasted the Neutrogena logo and pasted it onto the underwater scene. Then I free transformed the logo so it fit on the fish and erases whatever part of it that didn't fit.Then pasted in some Neutrogena products onto the smaller fish.
|
|
|
|
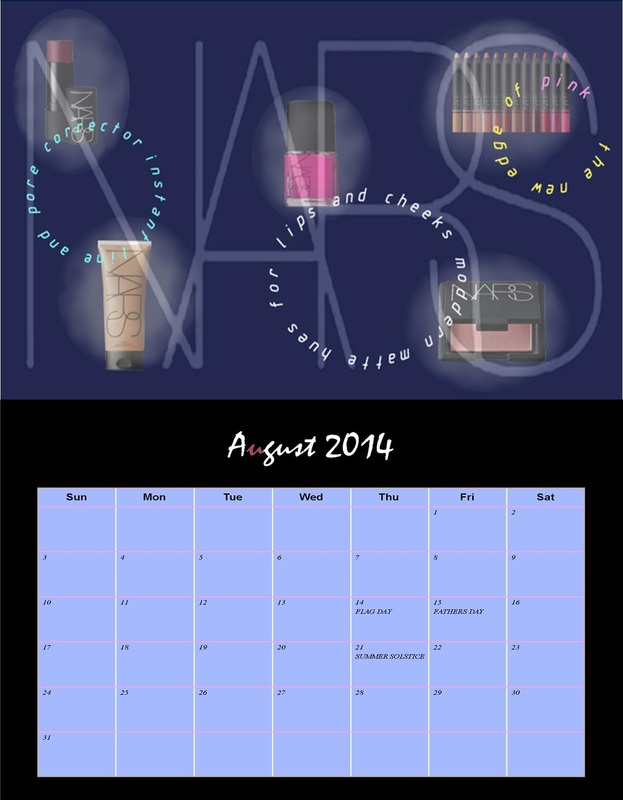
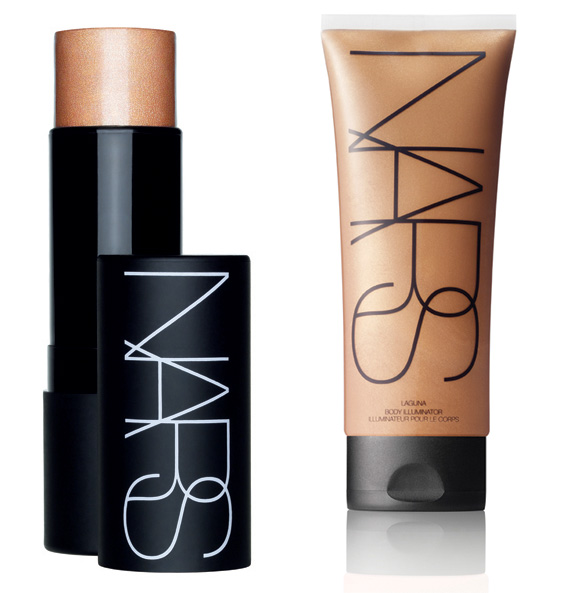
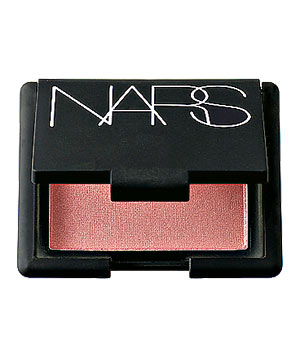
To make my august graphic I put a dark blueish purple rectangle the size of the entire graphic for the background. Then i copied, pasted, and free transformed pictures of Nars products onto it. I put whitish circles over them and used the eraser and opacity tools to make them look like they are glowing. I again used the opacity tool on the logo after I free transformed it to fill the whole thing. Then I used the draw on a path tool and drew circles. Then typed different marketing slogans Nars has used on them and erased the circles.
|
|
|
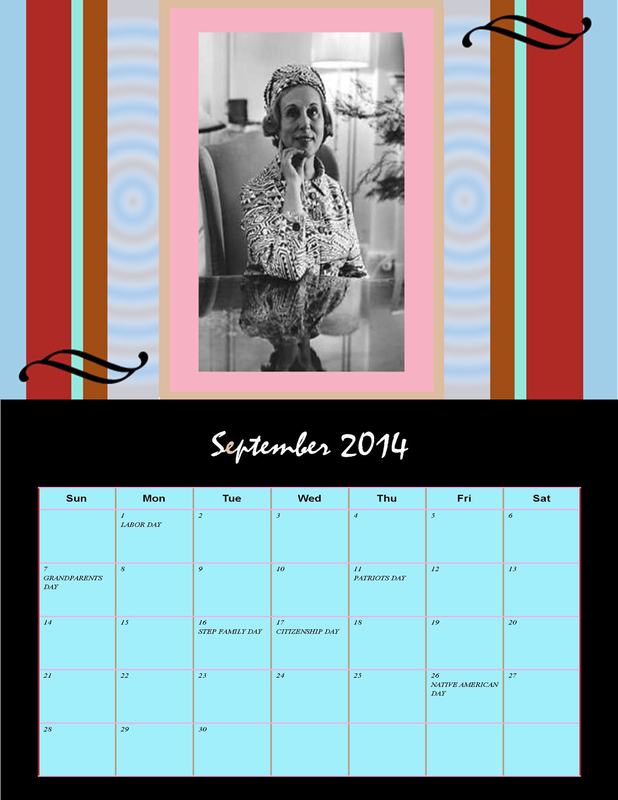
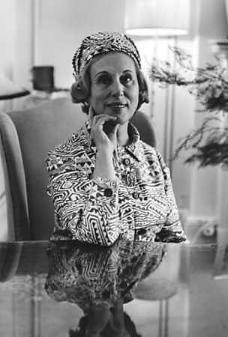
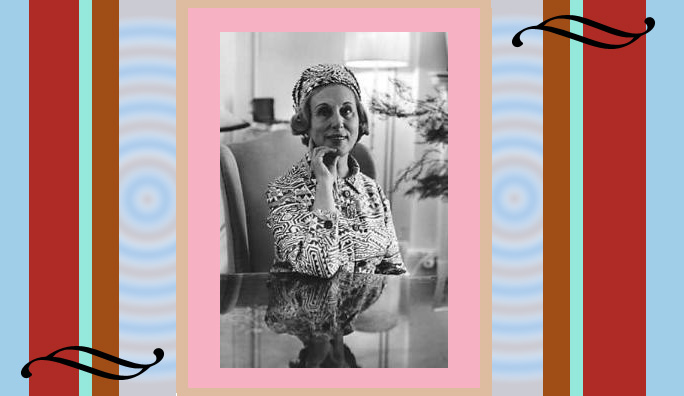
I took a picture of Estee Lauder and free transformed it to a certain size. Then i just kept putting different sizes and colors of rectangles around it so it would be bordering the picture. I chose a shape and duplicated it and places it in the image. I used a gradient pattern on two of the rectangles.
|

|
|
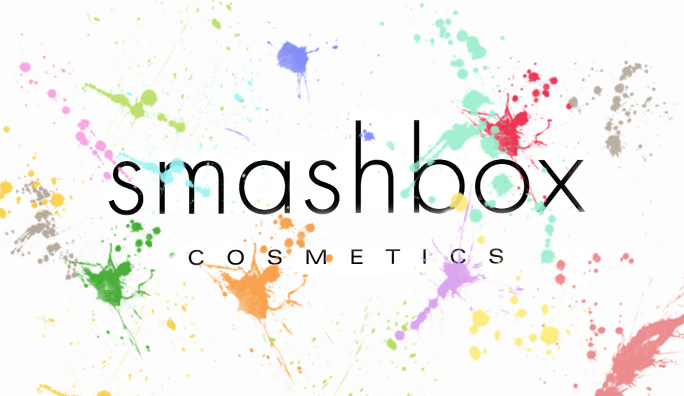
I took an image of the Smashbox logo and pasted it on my photoshop document as my background. Then I downloaded some paint splatter brushes. I used the brushes to make it look like paint was splattered on the logo.
|
|
|
|
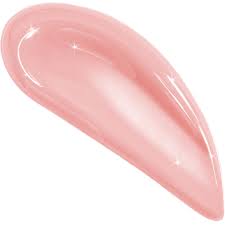
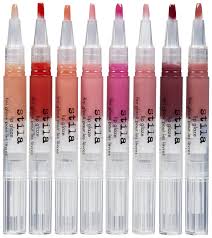
I used free transform tool to size the smudges to the lip glosses and made it look like each of the smudges came from the lip gloss. To get individual lip glosses I duplicated the layer and for each lip gloss I erased the ones I did not need in each image. I then placed the lip glosses and their according smudges through out the picture.
|
|

|
|
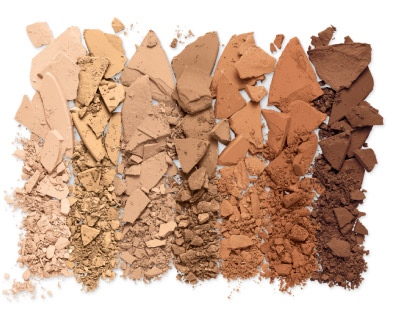
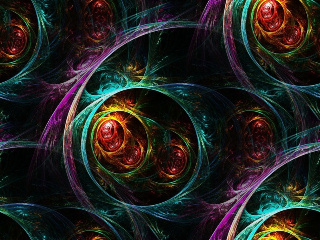
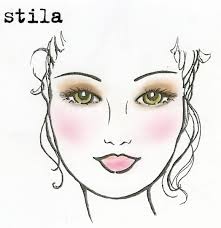
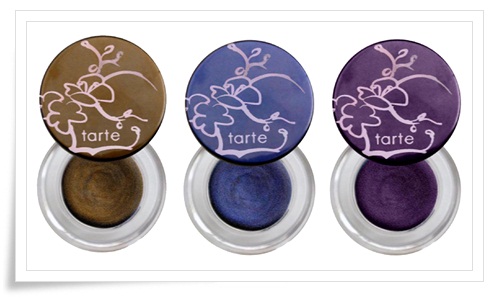
I used the swirly image as the background. Then i put the Tarte logo in the middle, adjusted to opacity, and erased the sides with an eraser with an adjusted opacity.Then I copied, pasted and free transformed the pictures of the tarte eye shadows into the graphic. I used multiple brush tools and used the dodge and burn tool to make the colors of the stamps lighter and darker in some places.
|

|

|
|
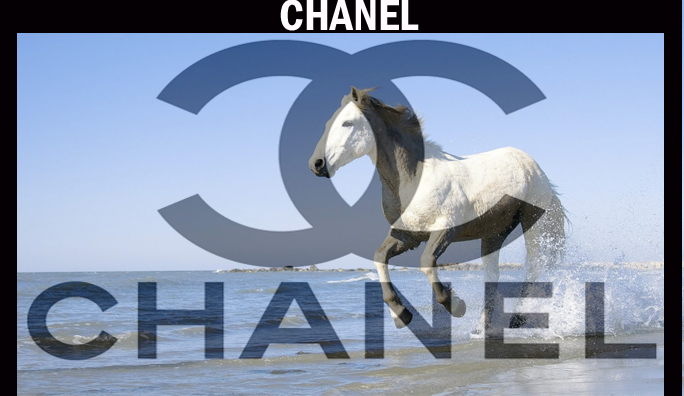
In this month I adjusted the capacity of both images. Then I added black rectangles to make it look like a channel makeup counter. Then I put Letters in there in a font that looks like the font the actual "CHANEL" is in.
|
|
|
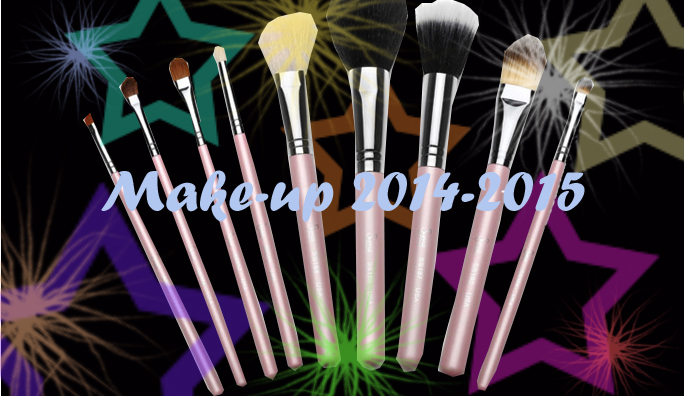
I duplicated the brush image multiple times, then for each I erased all but one brush so I had all the brushes on their own layer. Then I used the brush tool to make the stars in the background in all different colors. All of this is put on a black background to match the rest of the calender. |